

For customers wishing to use DCM in Cumulative Counting “CC” mode, the DCM team can activate this feature for that project. Once activated, some new calibration options become available.
Once you have your Cumulative Counting cameras positioned and working, the setup process for line counting is the same as setting up a standard DCM camera with a couple of extra steps.
As for a standard camera, all setup tasks begin from the “Manage Sites” link in the settings page.
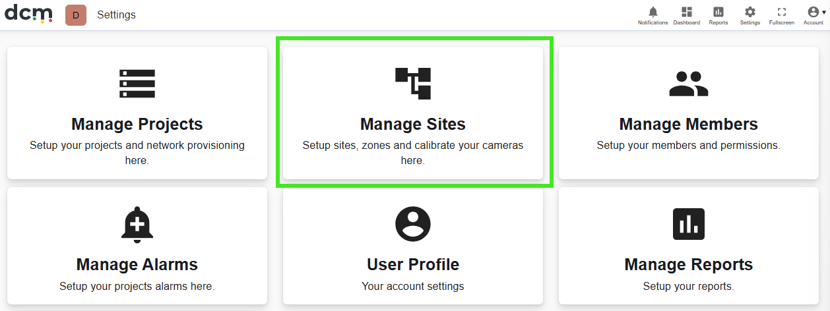
For full details on the process, refer to the chapter “Camera set up and Calibration” in the manual.
Camera setup is very similar to the base process. The user will create one or more Sites, Zones, “Deployments” and Calibrations in a hierarchical view.
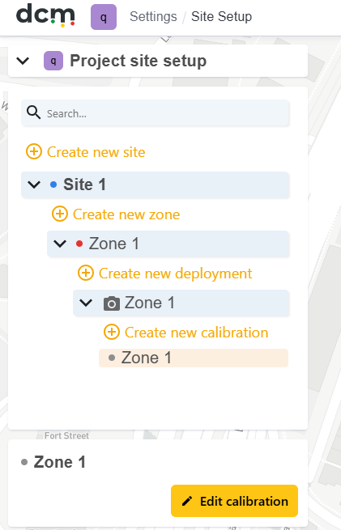
With CC mode enabled, any camera within that project can be set up in standard mode, Line counting mode – or both.
Line counting uses a separate GPU based camera driver.
If intending to use a camera for line counting only, it is not necessary to provision a driver at the deployment step.
In standard mode, DCM will collect data on Density, Flow and Mood.
To do so, DCM needs to know the measurements of the area of interest and understand the space in three dimensions. It does this via the standard calibration process, where an identical set of pins are placed in an overhead view, and a “Device View”. In step 2 and 3 of the calibration process, the user places these pins and draws their desired area of interest.
If you with to collect all possible data, you would still do these steps as normal.
In this example, a DCM calibration sheet has been used for the standard DCM setup.
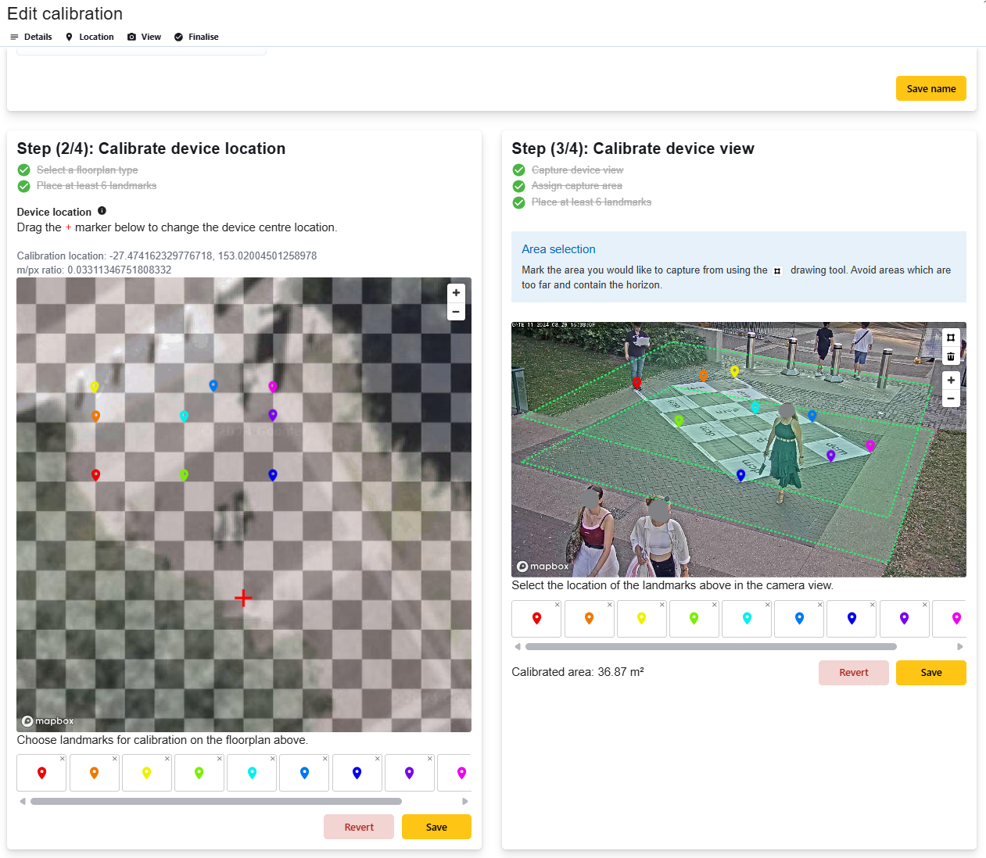
If you only wish to use the camera for line counting, then you can skip some of these steps.
For line counting only, DCM does not need as much information about the space. You can skip step 2 entirely, and all that is necessary in step 3 is to capture a camera image.
There is no need to place pins or draw an area of interest.
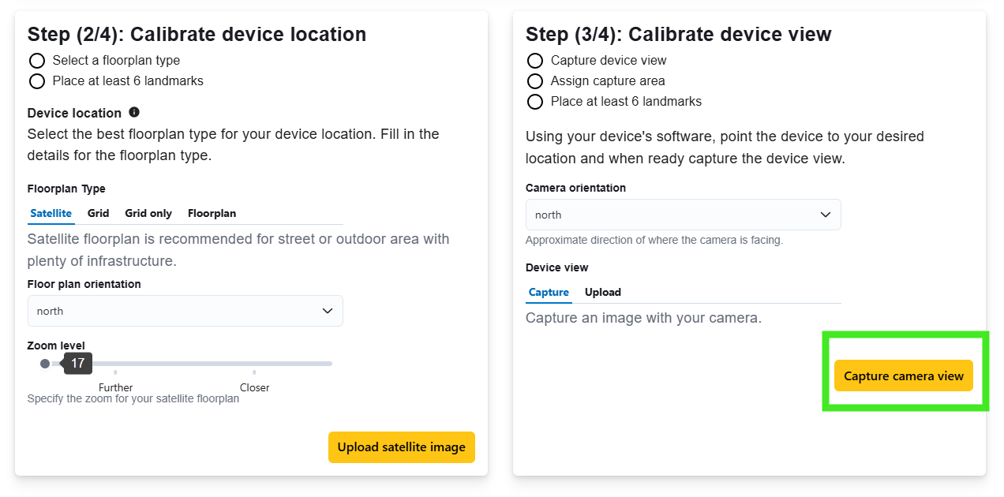
Setup of line counting is done via an extra option, visible only when “CC” mode is enabled in a project called “Line Counting Configuration”
Here you will deploy the separate GPU based line counting driver.
Enable Cumulative Counting with the toggle and then press the ‘start provisioning’ button.
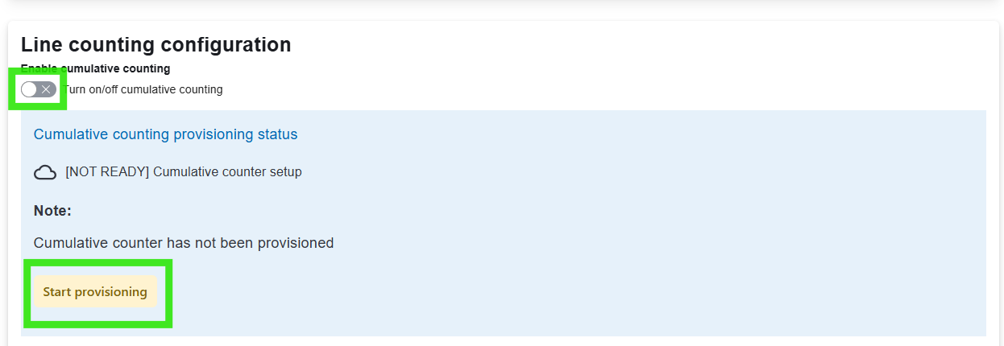
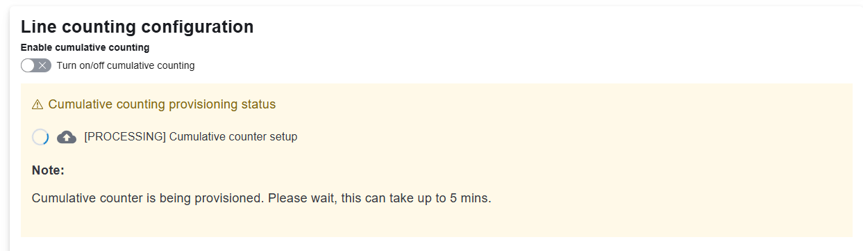
The software will deploy a cloud based Cumulative Counting driver, which will take approximately 5 minutes.
Once the deploy completes, you should see something like this, with a CC driver status message, and a copy of your captured camera image. This image will only have calibration data overlaid on it if you are using both a standard DCM driver and a CC driver.
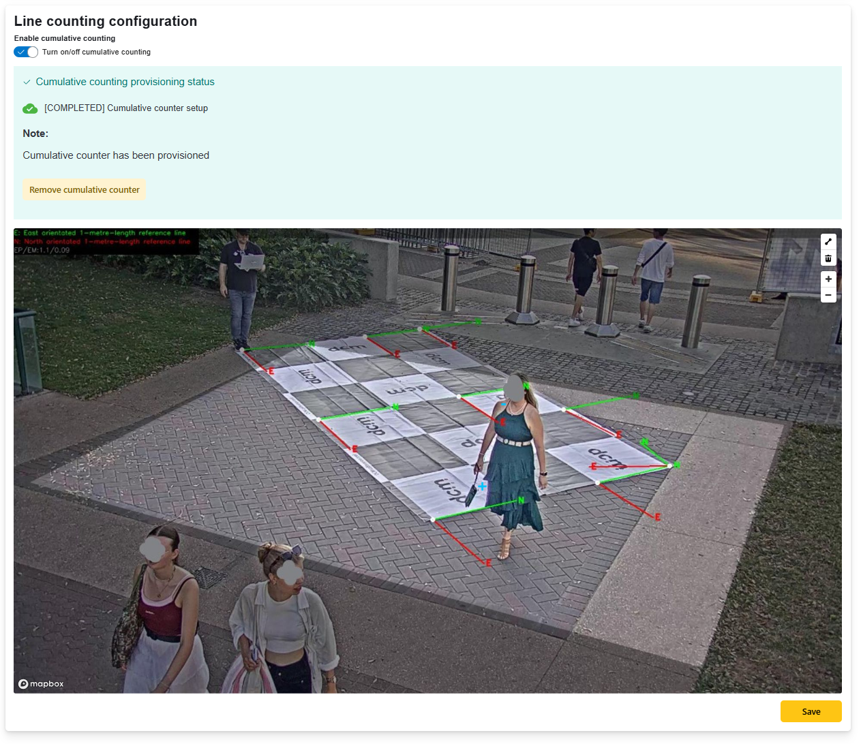
The final step in the setup is drawing the count line.
This is done using the tools at the top right of the camera view.
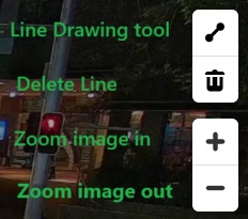
To draw a count line, click on the line drawing tool at the top.
Click on a start point for your line, move the mouse to the end point, then double click to exit draw mode. While it is possible to draw multi section lines, it is recommended to keep count lines as simple single span lines unless there is a specific reason to make it more complex.
If you start drawing right / top to left / bottom, the software will define “IN” as the bottom / left side of the line, and mark it with a “+” blue symbol. Pedestrians crossing the line in that direction will be counted as entering your space. Similarly, pedestrians crossing your line toward the top or right side will be counted as existing.
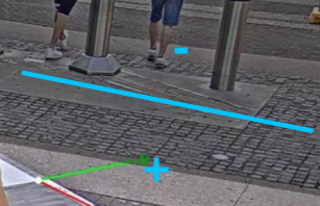
If you wish the reverse to be the case, draw the line in the opposite way – starting from the bottom / left.
Clicking on the line with the mouse and pressing the “Delete line” tool will remove a line – but its simpler to just draw a new one. Only one line can be drawn at a time.
When drawing your line, keep in mind the advice earlier in this guide, to place it in a natural constriction point, relatively central to the view for best results.
Pedestrians are only counted as crossing if the center of their detection box crosses your line.
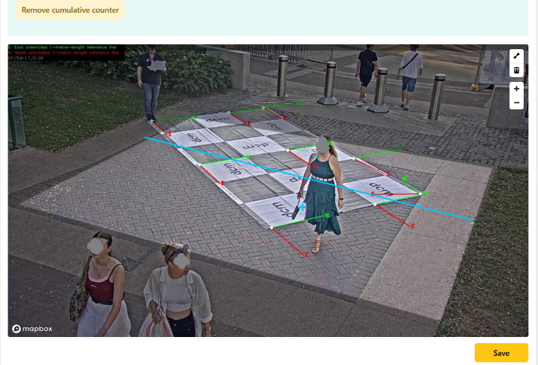
The mask used to define the area of interest for the standard calibration has no effect on the CC line.
Finally press the yellow save button at the bottom of the screen and your line counting setup is complete. Repeat the process for each camera at your entry points.