
⚠️ Risk Levels and Alarm Criteria
Risk levels and Alarm criteria are set independently. It will often make sense to have the high risk warnings in the dashboard, and the Alarms set using the same trigger criteria, but they can use different settings if desired.
As an example, imagine we wish to ignore flow and mood and set our risk levels based on Density alone. We think the most closely packed it's likely for people to get at our venue is four people per square meter. But we would like to define very high risk as three people per square meter or above. We would also like to set an alarm based on that threshold.
⚙️ Configuring Risk Levels
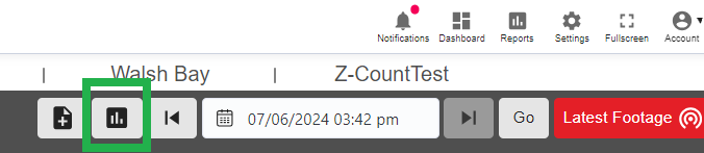
The first step is to open the configuration panel for the relevant zone. This is the graph icon on the top right menu.
When the panel opens, scroll down to the section headed ‘Matrix Value and risk level setting’.
In normal mode, the only stats presented are Density, Flow and Mood. In the flow and mood tabs, move all sliders for Low, Medium, High and Very High risk to 0. This effectively means the traffic lights will ignore those measurements, no matter how high they are.
Second, we will go to the density tab, and set a maximum possible density of 4 people per m2.
The risk threshold percentage is the percentage of this maximum value, where the risk moves to the next highest level.
So for example, if you set a ‘high’ risk threshold of 3. The risk traffic light will show 4 bars - Very High Risk (red), if density reaches 3 people per m2. If there are 2.9 people per m2, the risk value will remain at high (orange) level.
Your final setup will look something like this.
You can test the results with the Risk matrix test tool.
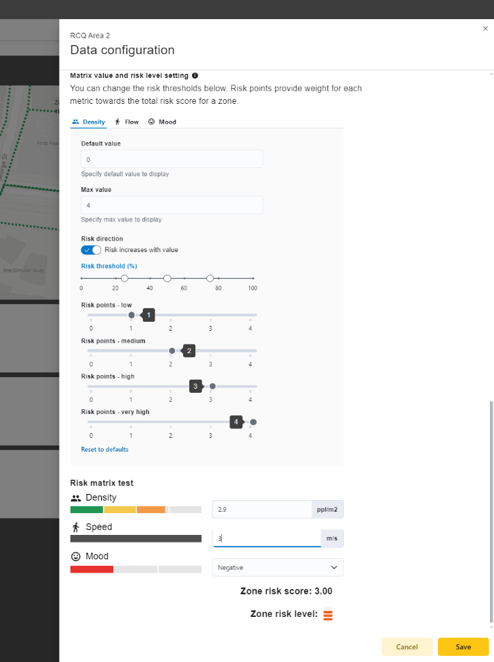
Note that even if flow values are very high, and mood is negative, these values now do not change the overall risk score. In this example, we are driving purely off the density settings.
The risk settings above will cause the zone cards and zone areas on the map to change to orange or flashing red according to the level of risk.
🔔 Setting Up the Alarm
We also would like to set an alarm, to drive a popup warning, or SMS alert if the density in this zone exceeds 3 people per square meter for an extended period of time. In this case two continuous minutes.
As detailed in the previous section, this is done separately via Settings > Manage Alarms.
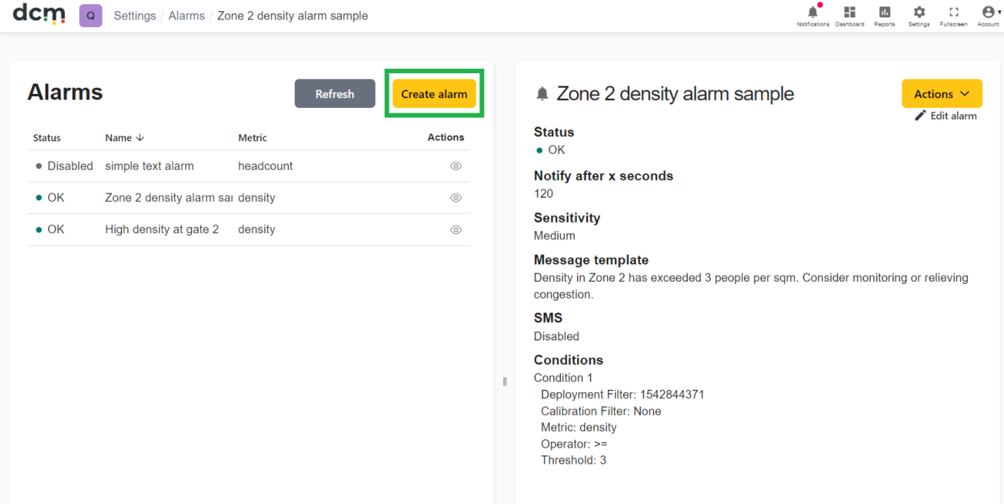
Press the “Create Alarm” button and fill in desired details.
In this case, we will leave alarm sensitivity on the default ‘medium’ setting.
In each two minute window at least half of measurements must meet the set criteria, in this case a measured crowd density of => three.
Press the yellow ‘Add Condition’ button to create the trigger conditions. In this case we will choose the relevant camera form the deployment list, select a metric of ‘density’, an operator of ‘Greater or equal that (>=), and enter a value thresh-hold of 3.
Then press the create button.
The completed alarm might look like this.
Navigation buttons highlighted in green.