

🔔 DCM Alarms
DCM allows the user to create customised Alarms, based on user defined parameters. When triggered, these alarms will draw the attention of the user with popup warnings on the dashboard, and can also be configured to be sent via SMS to a defined list of individuals based on name, role or location criteria.
📝 Alarm Configuration
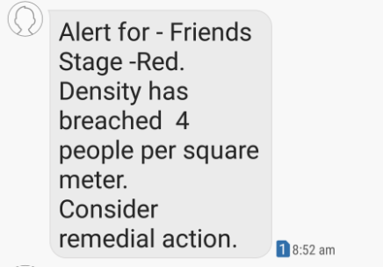
The text is entirely user configurable, to be relevant to the event of venue, and can include specific sections or locations where desired.
Anyone added to an alarm receives a notification they have been added, and are given the option to ‘opt-out’ (one notification per alarm).
⚙️ Creating an Alarm
-
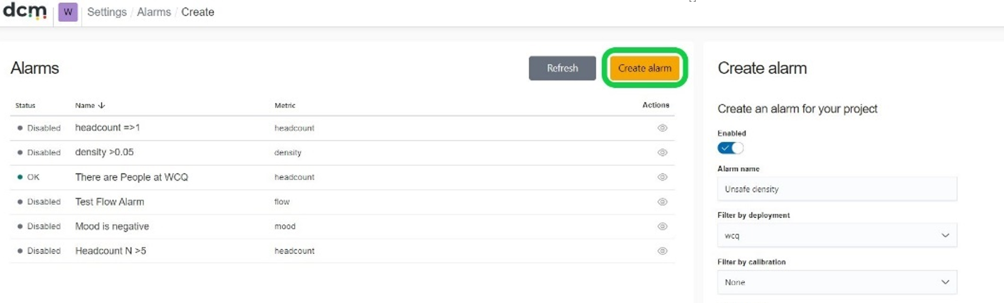
From the settings page choose “Manage Alarms”
-
Press the “Create Alarm” button and fill in desired details.
-
You will then see the Create alarm input panel, as below.
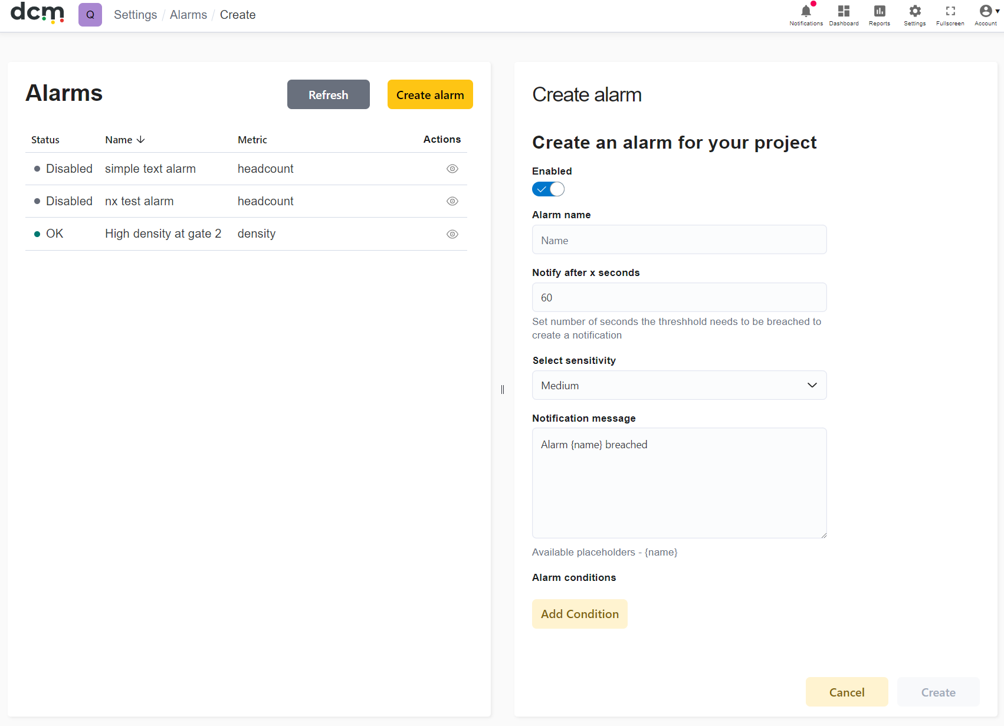
Alarms can be created using any combination of Density, Flow and Mood. Alarms can be created for the same camera, using different triggers, or using criteria from multiple cameras.
🕙 Time Window
Alarms use a time window in seconds. Conditions set for the alarm must be true within the specified time frame before the alarm will trigger. This is useful to prevent false alarms or triggering alarms too frequently. For example, if crowd density in a particular zone briefly peaks, but clears by itself within a few seconds – it is likely not worth getting staff to respond, as by the time staff arrive, the issue has resolved itself. The minimum time frame configurable is 60 seconds. By default, in normal circumstances each of density flow and mood models produce data points at least once per second.
🎚️ Sensitivity Settings
The user must also select a ‘sensitivity’ setting. This determines what percentage of data samples must meet the defined criteria within the specified time frame.
|
Sensitivity Level |
Criteria |
|---|---|
|
Low |
100% of data points within the time frame must meet all criteria |
|
Medium |
50% of points meet set criteria. |
|
High |
20% of points meet set criteria |
For example, on medium sensitivity, if you have an alarm set to trigger if the headcount in a camera view is greater than 100, and the system is getting density data points at around one per second, and your time window is set to 60 seconds, then at least 30 data points must be at or above 100 people detected for the alarm to trigger.
🔎 Alarm Conditions
A simple alarm, may use only one criteria – for example density >= 3 people per square meter. The user can however add an unlimited number of conditions, from an unlimited number of cameras to a single alarm. The alarm will trigger only when ALL listed conditions are true for the given time frame. For example, if a camera is monitoring an access corridor, it may not be an issue if two or three people stop to talk, but a large group of stationary people may significantly restrict flow. In such a situation, an alarm could be set to trigger when both headcount is above twenty AND average flow is below 0.3 meters per second, for example. This alarm could be sent to local security staff by SMS to move the people along.
⚠️ Alarm Status and Notifications
Once configured and saved, an alarm will look something like this.
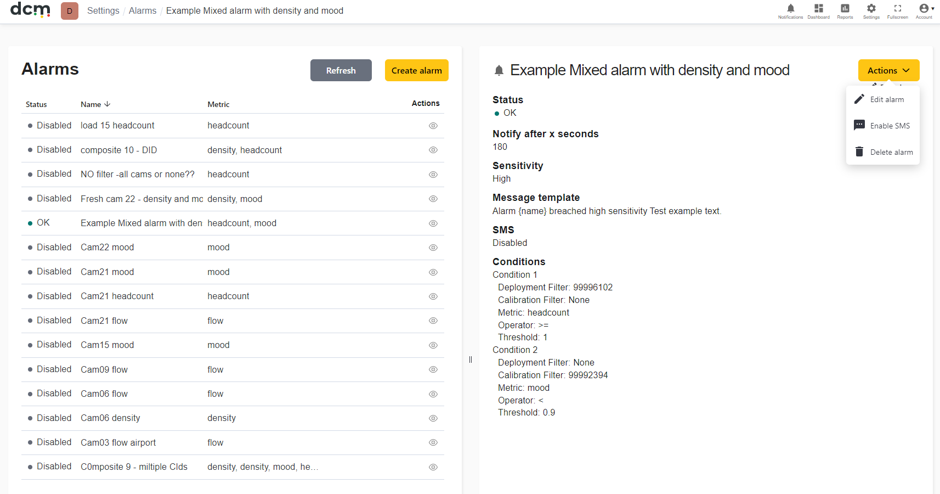
So long as all conditions remain true, the alarm will remain in ‘Alarming’ state, and the time period in this state will show in red on the dashboard graph. If, in our example the system detects at least a 60 second time period where less than 30 results meet the criteria – the alarm will stop.
💬 Notification Messages
The Alarm notification message will display on the Dashboard as a pop up notification and also optionally be sent to the contact list as an SMS. The text is fully customisable. The alarm name can be inserted using a placeholder {name} parameter for convenience.
Variables do not need to be used however – and the user may simply replace the default message with a simple text string.
🔛 Enabling/Disabling Alarms
Alarms can be enabled or disabled at any time using the slider at the top of this list.